Remember chiclets? The horrible chewing gum disguised as pretty candy? I can still hear the rattle of the box and see them peeking out the window. Open me up, little girl...we look sooo yuuummy...
This chiclet will not disappoint! Perfect for little hands and Easter baskets. Under his wing you can tuck an extra little treat or gift, too.
Get It:
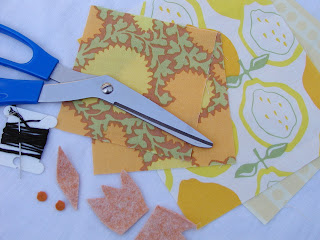
- 2 pieces of fabric cut to 5 x 6" (body)
- 2 pieces of fabric cut to 3.5" squares (wings)
- felt scraps--preferrably wool (eyes, beak and feet)
- embroidery thread (eyes)
- stuffing

Do It:
- Iron all your chicken parts. If you're using poly felt, then leave those parts out. Your iron will never forgive you. And you'll be too pissed to finish your chick. Iron your little squares into triangles. Voila! Wings.
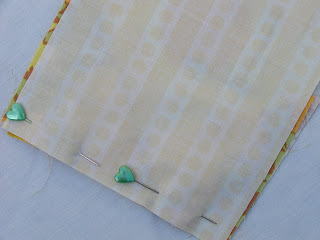
- This is the super-easy-fun part. Make yourself a chicken sandwich: place back piece face up, layer on your feet toes-up, wings and front piece face down. Make sure your feet are in-between the back and wings (rather than wings and front). Otherwise, you will have one seriously deformed chicken foot...and no one loves a deformed chicken. Even on Easter.
- Starting at the middle of the head, sew all around but leave a hole to turn the chicken out. I make that stupid mistake more than I'd like to admit...which means it happens a LOT.
- Iron again and stuff the bird! Stitch closed. Cut a little diamond for a beak and some little eyes. I use my much neglected .25" hole punch to get a nice little circle. Otherwise, I never seem to get both eyes the same size. Use french knots to secure circles. And with a little treat under its wing--this quickie is finger lickin' good. Oh come on, you saw that one coming. For a nice, well-endowed chicken, put a chocolate egg under both wings. B-cup, C-cup--it's up to you.


